Self Luminous Exit Sign Installation Guide
One of the most attractive features of the self luminous tritium exit sign is its ease of installation. Unlike electronic LED models, these self-powered safety signs do not require a professional to install. The power in your building will not have to be shut down while an electrician takes his time wiring the sign. Instead you can install it at your leisure while normal work continues in the building. Once the sign is up, you can forget about it for the next two decades!
See Our 10-Year Self Luminous Exit Sign Models
This installation guide should help you prepare for the process so installation will run smooth and efficiently.
Receiving Your Self Luminous Exit Sign
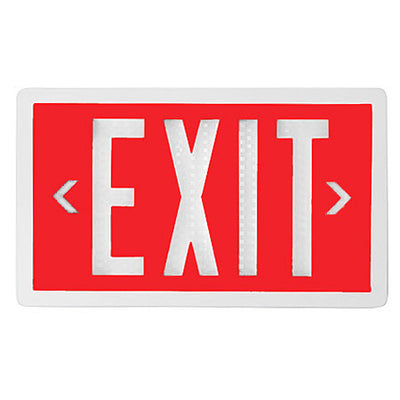
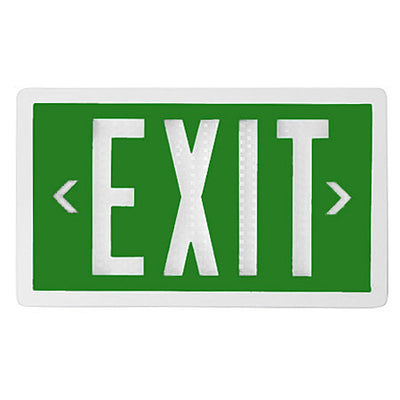
Your signs will arrive in a box much like any other parcel. Immediately inspect the signs and components. Remove the frame, clear cover, exit stencil, tritium case and bracket. Make sure everything is there and that no components are broken. It's also a good idea to look at the tritium case in darkness (you can place the exit stencil over it to get the full effect). The exit letters should glow bright green in all areas as well as illuminate the knockout chevrons.
Mounting the Tritium Exit Sign

One of the key reasons people buy self luminous exit signs is their ease of installation. And don't they look pretty?
A universal mounting bracket is included with all single and double-sided self luminous exit signs. Select your method of mounting the sign in a way that it appears most visible to occupants leaving the building. Your three (3) choices are:
- Surface (wall) - The sign is placed flush against the wall. No Bracket is required since the sign will be drilled-in.
- Side (flag) - for mounting perpendicular to the wall. Perfect for indicating stairwells and exit doors in hallways.
- Ceiling - if the hallway leads straight towards the final point of egress, hang it in the middle of the ceiling. Plenum ceiling applications will require a T-bar bracket as well. High ceilings will require a pendant bar.
Depending on the configuration, installation methods will vary.
Surface Mounting a Self Luminous Safety Sign
The polycarbonate tritium case that is the body of the sign will have eight (8) convenient mounting holes. You do not have to screw into each one, only those two or four holes that makes sense for the wall. Take the plastic exit stencil and transparent face cover and place them in the thermoplastic frame. This makes it easy to align all three components and simply snap it into the tritium case. Boom, you've just installed an exit sign!
Side and Ceiling Installation
Screw the universal bracket into the desired position on the wall/ceiling and secure with long walls screws. If it is drywall or similar hollow construction material, anchors will be required. Line up the bracket holes with one of the eight screw holes in the tritium case and use the provided sheet metal screws to secure.
See Our 20-Year Self Luminous Exit Sign Models
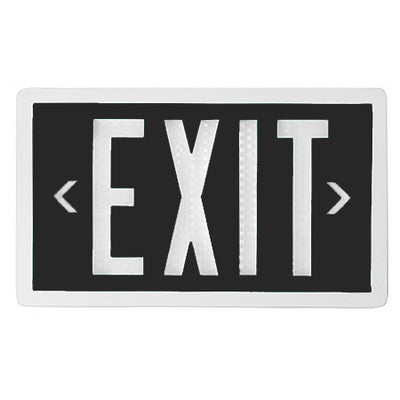
The signs exit stencil will come with both directional chevrons (arrows). Simply place the adhesive chevron covers over the arrow going in the opposite direction of the exit in relation to the sign, then place the cover, stencil and frame on the sign.
Installing Double Sided Self Illuminating Exit Signs
If you have bi-directional exits, attach the bracket to the wall or ceiling. Place both bottom assembly cases against either side of the bracket. Place a self-tapping screws through one sign and pass it through the bracket until it reaches the end of the opposite sign.
Installing the Exit Sign to a Pendant
Attach the bracket in a ceiling configuration to the bottom of the pole. Put together all the parts of the sign and affix it to the bracket. Once the sign is complete and chevrons are properly displayed, attach the pendant to the ceiling.
Conclusion
The entire process should take about 5 minutes per sign. If you need help finding these nuclear powered exit signs, call us anytime 24/7 at 800.847.1955. We can get you these signs faster than anybody.